5 Mayıs 2021 Çarşamba

Voki Avatar


As my Voki avatar has shown, Voki can be a powerful tool that can help you make teaching more fun. Now let's see how I created this Voki step by step.

After registering to Voki website, you are greeted with the home page. In the home page, click the "Create" option in the top left corner and you are greeted with your vokies. The trail version has access to 3 vookies up to 60 seconds each. When you press the "Create new" button, you can begin creating your own Voki in a screen like this:


Now, you can customize your Avatar, the background and the words it will utter. Now go on exploring and having fun with Voki!

4 Mayıs 2021 Salı

Jamming in Jamboard

Physical classrooms, as a general rule of thumb, have black or white board which the teachers and students can use. But, virtual classes often lack any form of board. So, if you want a board which both you and your students can use, what do you do? Well, at this point Google's Jamboard has your back. In this post, we are going to look at Jamboard, a virtual whiteboard developed by google.

To access Jamboard, you can use this link and log in with your google account. Once you've opened the website, click the + button on the bottom right and create your first board. This is how your first board should look like:


After creating your board, you can change the background, add multiple boards and jam however you like! As for me, I changed my background and wrote the name of my blog as a post-it. You can acces my board through this link. It should look like this: 


Creating a Video in Edpuzzle

 With Edpuzzle, you can share videos with your classes and ask appropiate questions at the timemarks you choose. But how? In this post, I am going to show you how to create content in Edpuzzle. 

The first step for creating content in Edpuzzle is choosing the video you would like to put questions over. I will demonstrate the rest of the process with a video of mine:

After creating content, you can share it with your students and see the results.

How to use Pear Deck to create interactive slides

 In this post, I will be guiding you through a Pear Deck lesson. After creating a Pear Deck account, we are greeted with our home page which looks like this:


We use the "Create a Lesson" function and create our first slide. After doing so, we use the Pear Deck library to test some of the features this tool provides us:


To test these features I would need students, but currently, I don't have any students. Nonetheless, I have shared the slide with everyone and if you want to, through this link you can join this slide and answer the questions I have put up during the recording of my video.

The Basics of Edmodo

 Today, I will be explaining the basic functions of Edmodo such as creating classes and posts. 

After creating your account, you are greeted with the "home" page of Edmodo. Here you can see your dashboard, calendar and the posts created by the users. The home page looks like this:


Edmodo has already offered us with the opportunity of creating our first class, so I am going to go ahead and create a class named "Test Class" using the button in the home page. After naming the class and writing a short description, our class is now ready! Now let's check out what we can do with our newly created class.


Edmodo once again guides us through the features, so let's examine the things we can do with our class.

When we click on "Send a welcome post", we are greeted by the post screen, through which we can create posts:


The "Create and send an assignment" button lets us post assingments and it looks like this:

Right now I don't want to give my imaginary students any assingments, so I will skip the quiz part, as it is too similar to the assingment screen, and showcase the agenda system. With Edmodo, you can create agendas: 

These are the basic features of Edmodo. Edmodo is a very user friendly tool that I will be using once I become a full fledged teacher.


10 Nisan 2021 Cumartesi

Shin's and Garrison's Educational Experience framework and it's variables in online education

     This week, we looked at the framerwork developed by Shin and Garrison in 2002. In the framework, four educational prescenses (we will talk about them later on) come together to form a meaningful educational experince. In this post, the questions of what they are and how a teacher can utilize them in online education, be it synchronized or not, will be adressed. 

    The simplest of these presences is the social presence. The teacher must provide a way for the students to feel a sense of togetherness with their peers and let them know they are regarded as a real person. In traditional education, as the students are physically together in a classroom, the togetherness feeling is easy to provide, but in online education this is a far more complex task to tackle. A teacher in an online education environment has to find creative ways to stimulate togetherness. A good way for this is the aforementioned quality of letting the students know that each and every one of the students are regarded as a real person. For example, by creating an environment where each student is free to express themselves, a teacher can not only provide the sense of being a real person but also a way for the students to feel together.

    When the social presence is produced, the next step is transactional presence. Transactional presence is similar to the social presence in that the teacher needs to provide the students with the feeling of togetherness, but unlike social presence, in transactional presence there needs to be, as the name suggest, a transaction of information between the students. To achieve this presence, the teacher might ask the students to produce a material, then ask them to share the material with their classmates. The most concrete example of this are presentations. 

    After transcational presence, the students' cognitive presence needs the be activated. This can be achieved by information transactions between students. What makes cognitive presence different from transactional presence is that while transactional presence is usually a one way road, cognitive presence involves multiple students, each communicating with each other. An example to cognitive presence is group works, in which each student contributes to the work at hand.

    The last part of the chain is the teaching presence. This presence is the glue that bounds all presences together, as it deals with the desing of the educational experience. Without a proper teaching presence, all the other presences simply cannot exist. In a way, we can say that the teaching presence is the foundational presence upon which all the presences build.

6 Nisan 2021 Salı

The Cognitive Theory of Language Learning

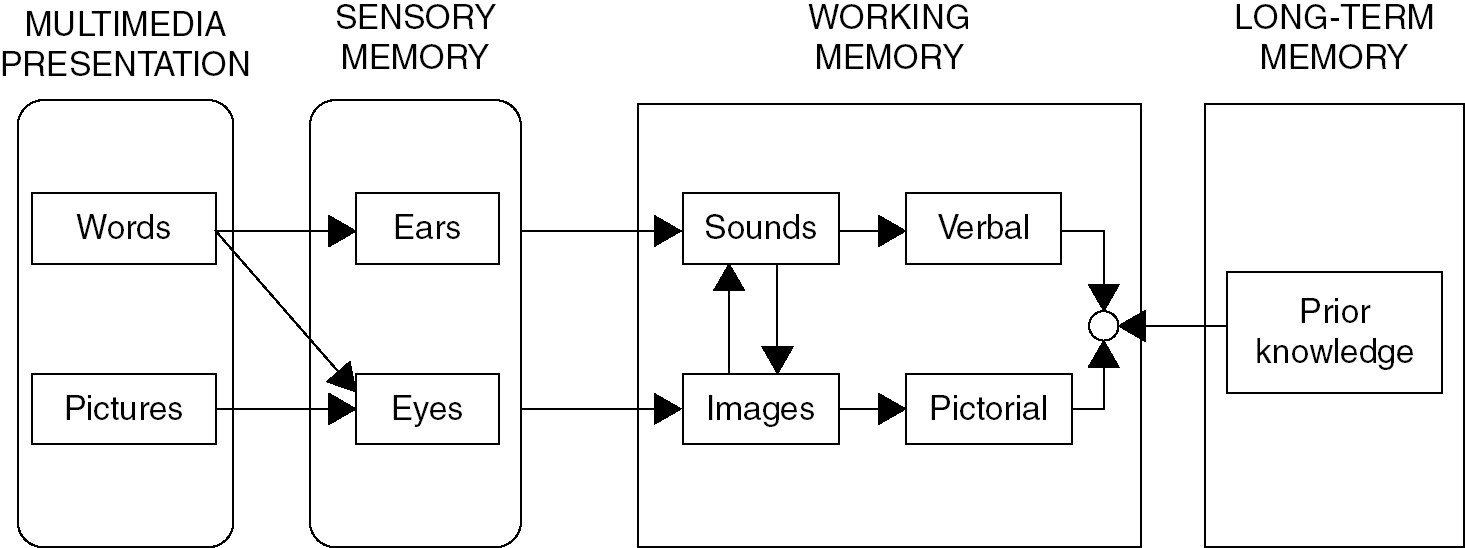
 The Cognitive Theory of Language Learning is a theory that tries to explain and make use of the interaction between the different channels of knowledge input required for learning and the interaction between these different inputs. These inputs have a hierarcical system, and different parts of the brain come together at different levels to facilitate learning. By examining this hierarchy and its components, theacher can, with appropiate input, use this theory to their advantage. For example, with the appropiate organization of the verbal model and the pictoral model(see the illustration), the student can absorb the material, and put the absorbed material in their long term memory, thus facilitating effective learning.

This is an illustration of the model:


My Udemy Certificate

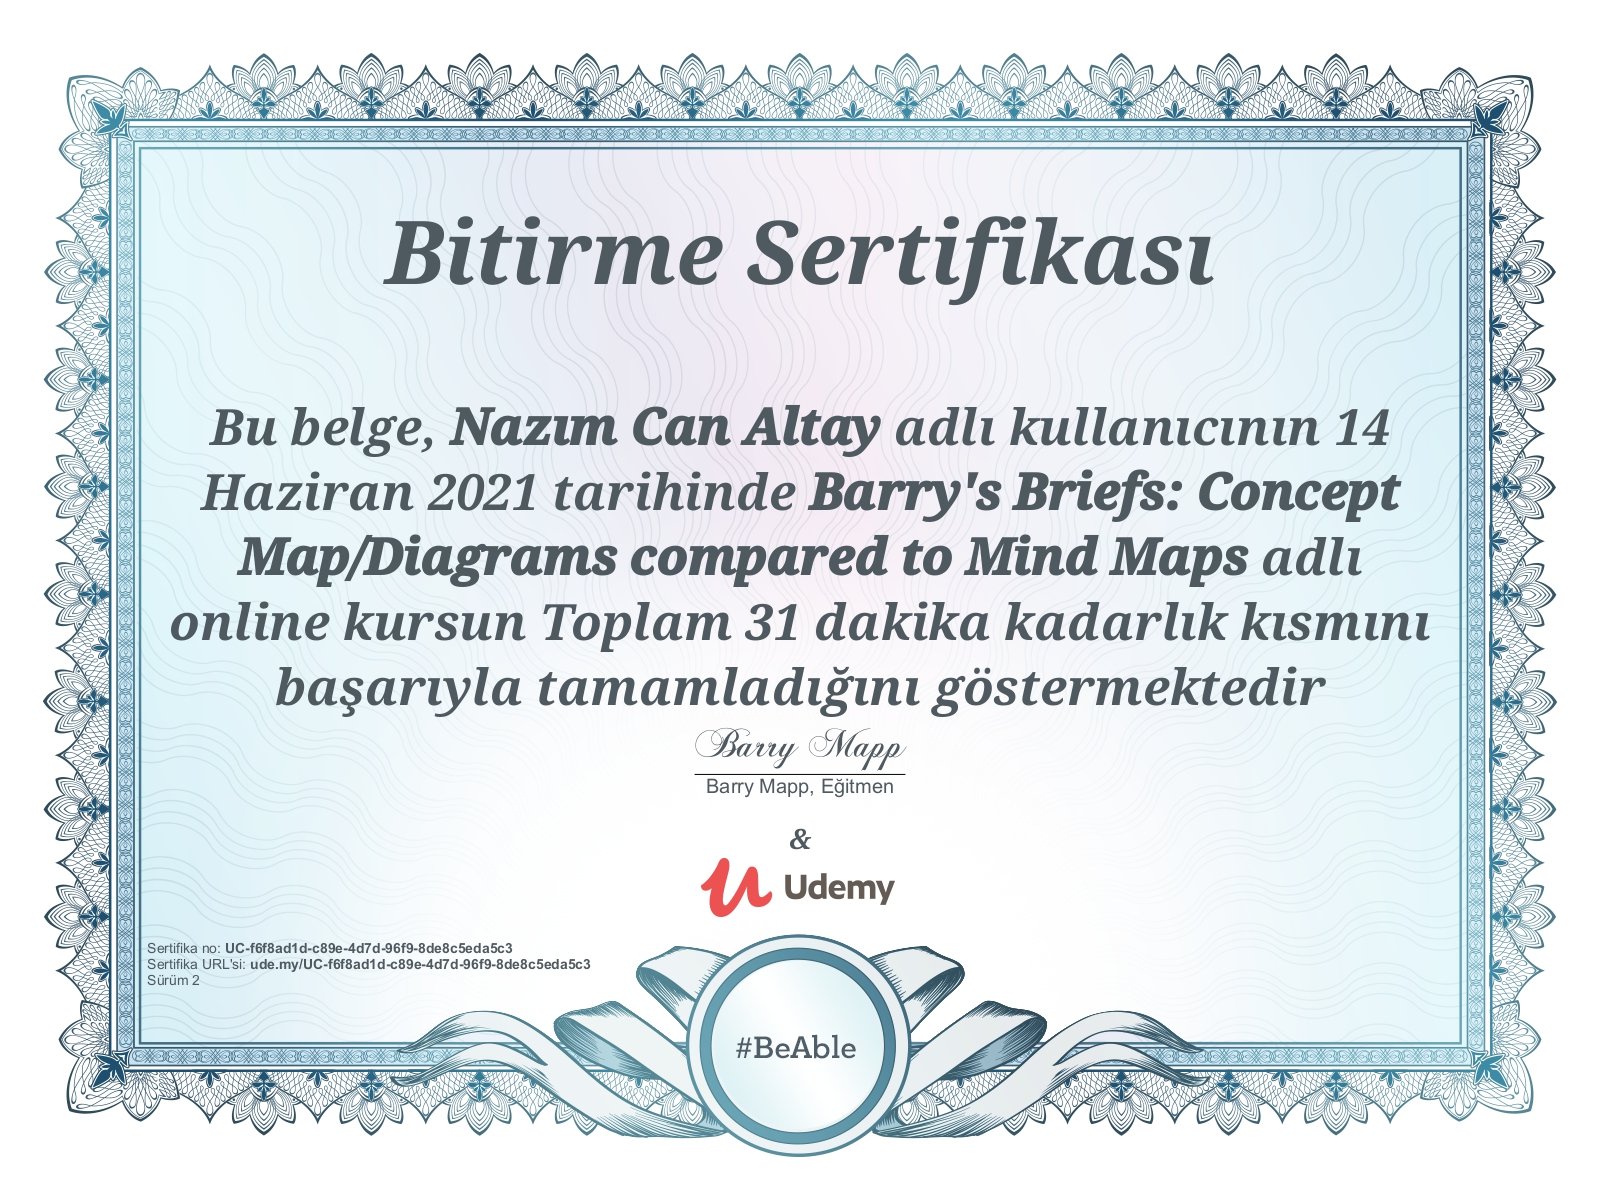
 Since the couse I enrolled on previously closed, I joined a new one on Udemy and got this cerificate: